
Stock Take Overview
Prepare Storage Areas, create a Stock Take period, count by location and review results before finalising.
Who is this article for?
Use Stock Take to create a counting period, include the locations to count and review progress before finalising inventory adjustments.
Prepare Storage Areas
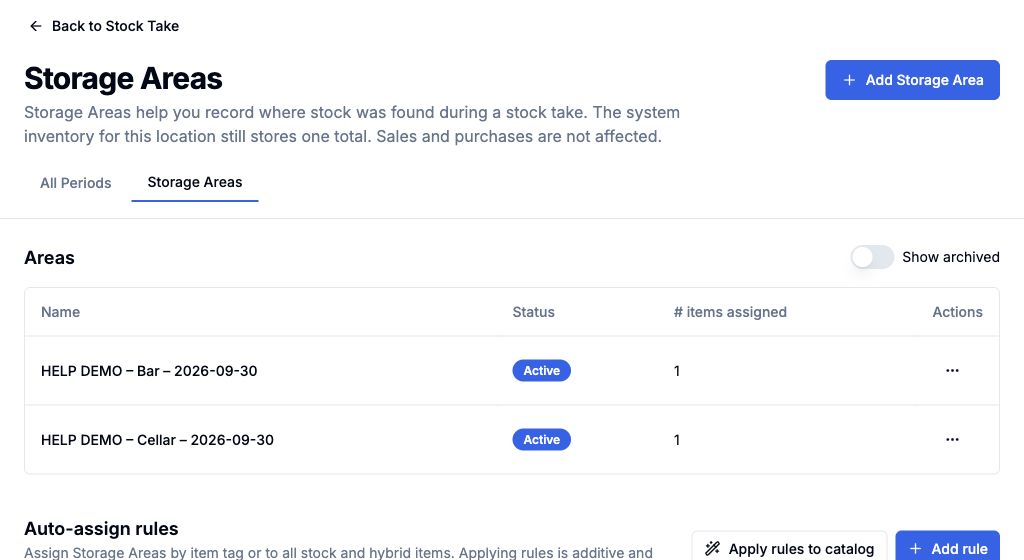
Storage Areas are optional places within a location, such as Fridges or Dry Store. They record where stock was found during a count. Live inventory remains one total per location; sales and purchases are not split into area balances.
 View larger
Before starting a period:
- Open Stock Take → Storage Areas and choose Add Storage Area.
- Enter a name, keep the area Active and optionally set its display order. You can assign it to all stock and hybrid items when creating it.
- Use the Storage Areas page’s assignment controls or rules to choose the stock and hybrid items counted there. With Full Crunch, you can also assign an individual item from Catalog Items → Stock take Storage Areas → Add.
- Check assignments before creating the period. New entries snapshot the item's assigned areas; items with no assignments count as a single total.
For larger catalogs, the Storage Areas page also supports tag-based assignment rules and rules for all stock and hybrid items. Use Apply rules to catalog to apply them; rules add assignments without removing manual ones.
Info
Storage Areas are counting aids inside a location, not additional business locations. Assignments apply to stock and hybrid items; menu and service items are not counted as inventory in this workflow.
Create a Period
Crunch prepares entries for inventory-bearing variations at the included locations. The period shows Status, Locations, Progress and Discrepancies.
Count, Review and Finalise
Enter one total or choose By area for entries with Storage Areas. Check saved counts and review View Analytics before using Close Period.
Use Cancel Period to abandon an open period. Rollback Stock Take is available only for an eligible closed period; review its preview before confirming.
Understand which entries are prepared Enter total and per-area counts Review period analytics Choose the final action